Django's admin is an amazing batteries-included addition to the Django framework. It's a great tool for managing your data, and it is easily extendable and customizable. The same goes for Django's ./manage.py shell command. If we were to combine these two give then it would have a great outcome, a fully interactive Django shell where you can manage your data in the admin. This was the idea behind django-admin-shellx, a Django application that provides a shell in the admin interface. This blog post serves as an introduction to the Django package I built lately: django-admin-shellx. Let's see how to use it.
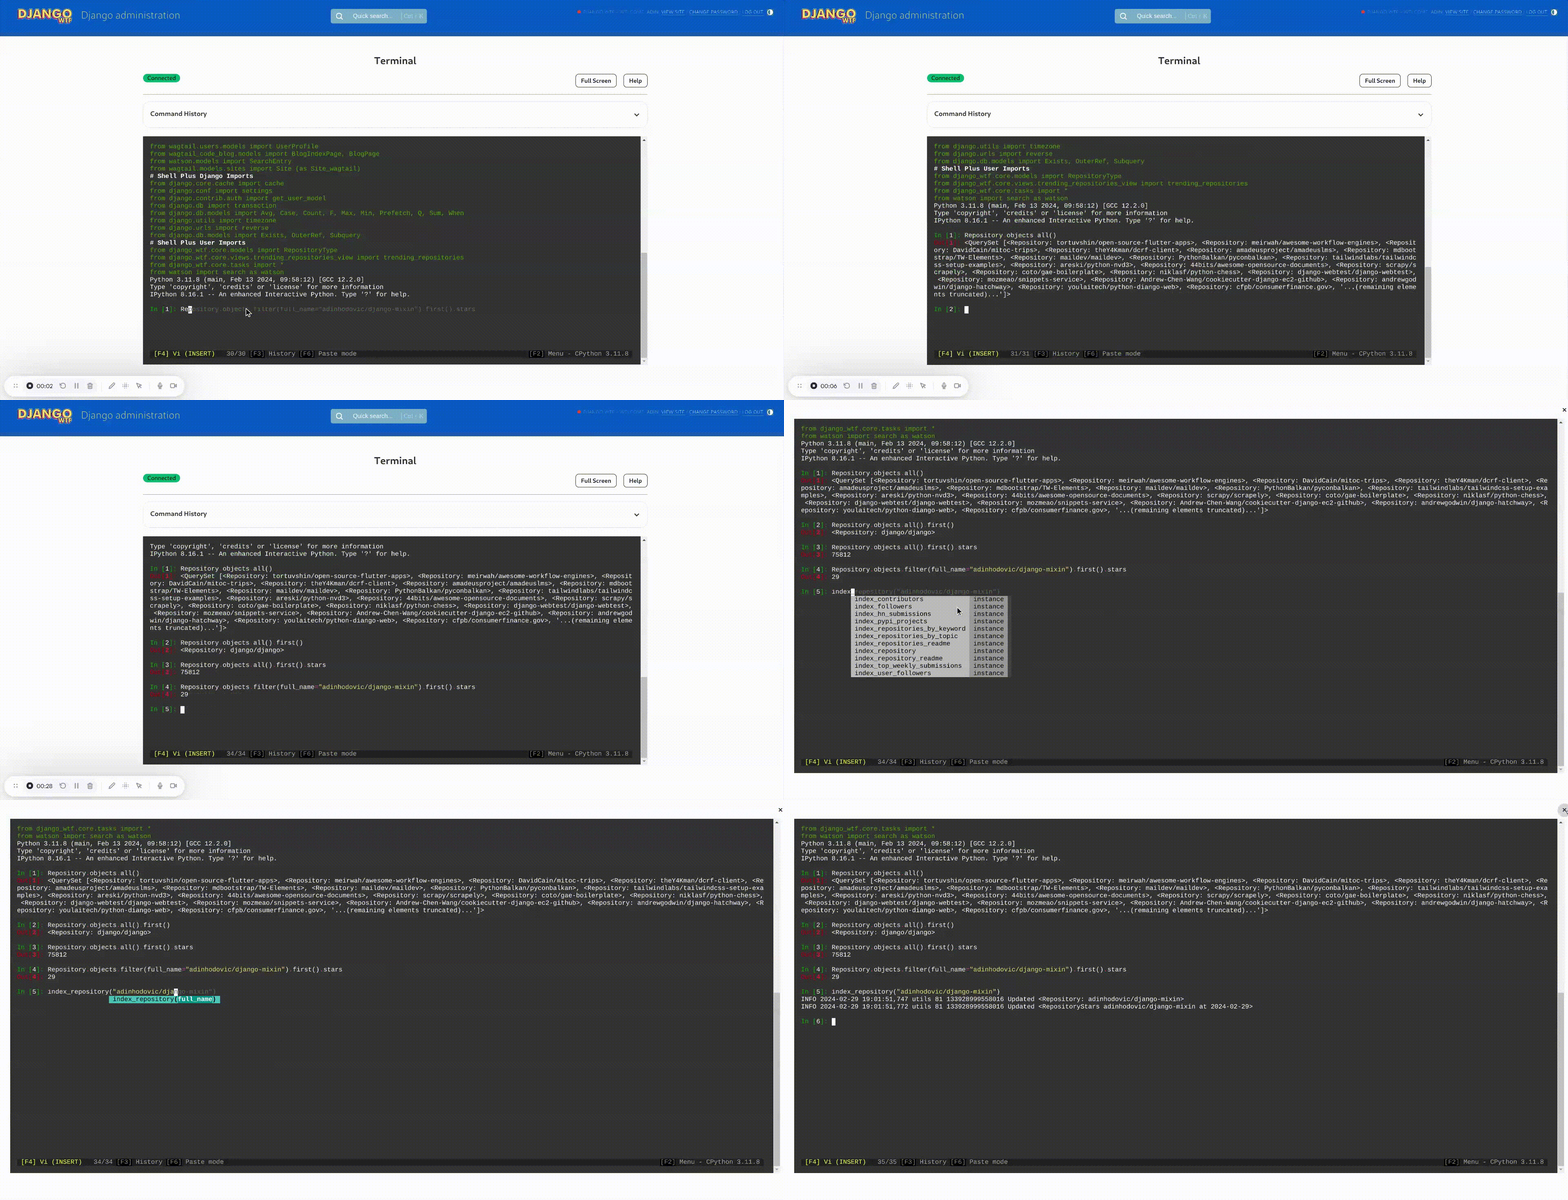
Here's a preview of what we are going to add:
 The demo is from Django.wtf's admin.
Here are some of the features that the package provides:
- Fully responsive terminal using Xterm.js.
- Accessible through the admin.
- Authentication with Django auth, configurable to allow only superusers.
- The commands written are tied to a user.
- Saves command in a new model and create favorite commands.
- Filterable command history.
- LogEntry of all commands ran.
- Custom admin site to add Terminal links to the admin.
- Full screen mode.
- Working autocomplete.
Installation
Note: This installation guide comes from django-admin-shellx's documentation.
Note: This package depends on websockets therefore you'll need to use an ASGI application to use it. If you are not using Django channels then read through the official Channels' documentation on installing Channels, also see the Channels' documentation on running ASGI applications. I've also written a blog post on Deploying a Django Channels ASGI Server to Kubernetes.
Install the package using pip:
pip install django-admin-shellx
Add django_admin_shellx to your INSTALLED_APPS:
INSTALLED_APPS = [
    # ...
    'django_admin_shellx',
    # ...
]
Since the package uses websockets you'll need to add the URL patterns to your ASGI application:
...
from django_admin_shellx.urls import websocket_urlpatterns

application = ProtocolTypeRouter(
    {
        "http": django_asgi_app,
        "websocket": AllowedHostsOriginValidator(
            AuthMiddlewareStack(URLRouter(websocket_urlpatterns))
        ),
    }
)
Lastly, we'll need to use a custom admin site to add a link to the terminal, add the following to your INSTALLED_APPS:
INSTALLED_APPS = [
    ...
    "django_admin_shellx",
    "django_admin_shellx_custom_admin.apps.CustomAdminConfig",
]
Ensure to remove the default admin app from the INSTALLED_APPS if you are using the custom admin site.
INSTALLED_APPS = [
    ...
    # 'django.contrib.admin',
    ...
]
The above is optional and only adds a view button to the admin that links to the terminal. Otherwise, there will not be a link since it's not a model and can not be added to the admin. The terminal will either be accessible through the path /admin/django_admin_shellx/terminalcommand/terminal/ and if you use the custom admin site, it will be accessible through a link in the admin.
Usage
Head over to the admin and click on the Terminal link. You'll be presented with a terminal that you can use to run commands. The default commands are ./manage.py shell_plus, ./manage.py shell and /bin/bash.
When submitting a command, the command will be saved to the database, and you can view the history of commands ran. You can have favorite commands and filter the history by searching or by user. Every execution saves a LogEntry object. There's a full screen mode and the terminal is fully responsive.

